How to Check the Charge of Your Marine Battery. You know that call. The one that makes your stomach turn over. Your boat, miles from shore, paying clients on deck, and the engine won’t turn. The plotter’s dark. The radio’s dead. Now you’re not a captain, you’re a dispatcher for a very expensive tow boat. That’s not bad luck. That’s a failure in basic seamanship, and it costs you.
For anyone making a living on the water, your battery bank isn’t just a piece of gear. It’s the heart of your boat. Knowing its state of charge isn’t some esoteric skill—it’s as fundamental as reading a chart. Let’s get this done right.
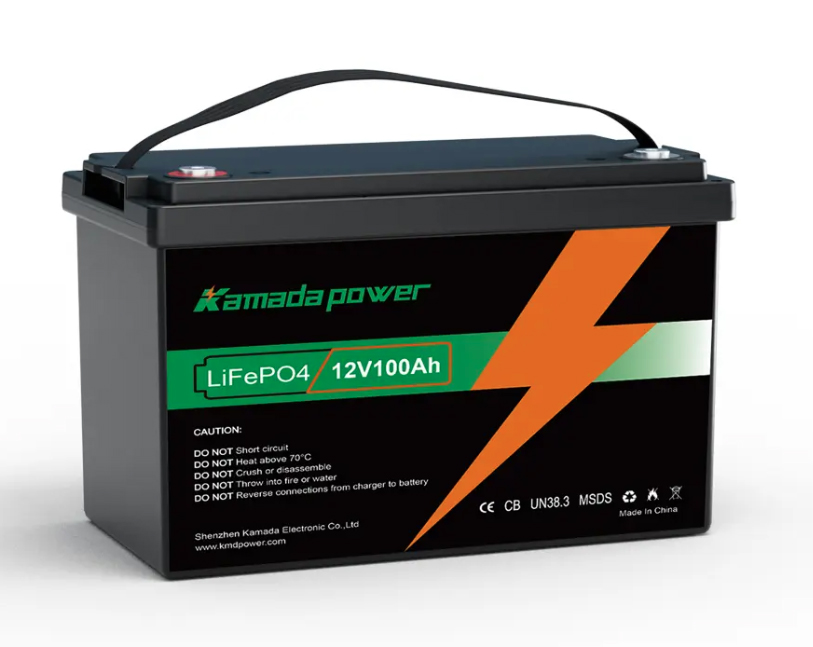
12v 100ah lifepo4 marine battery
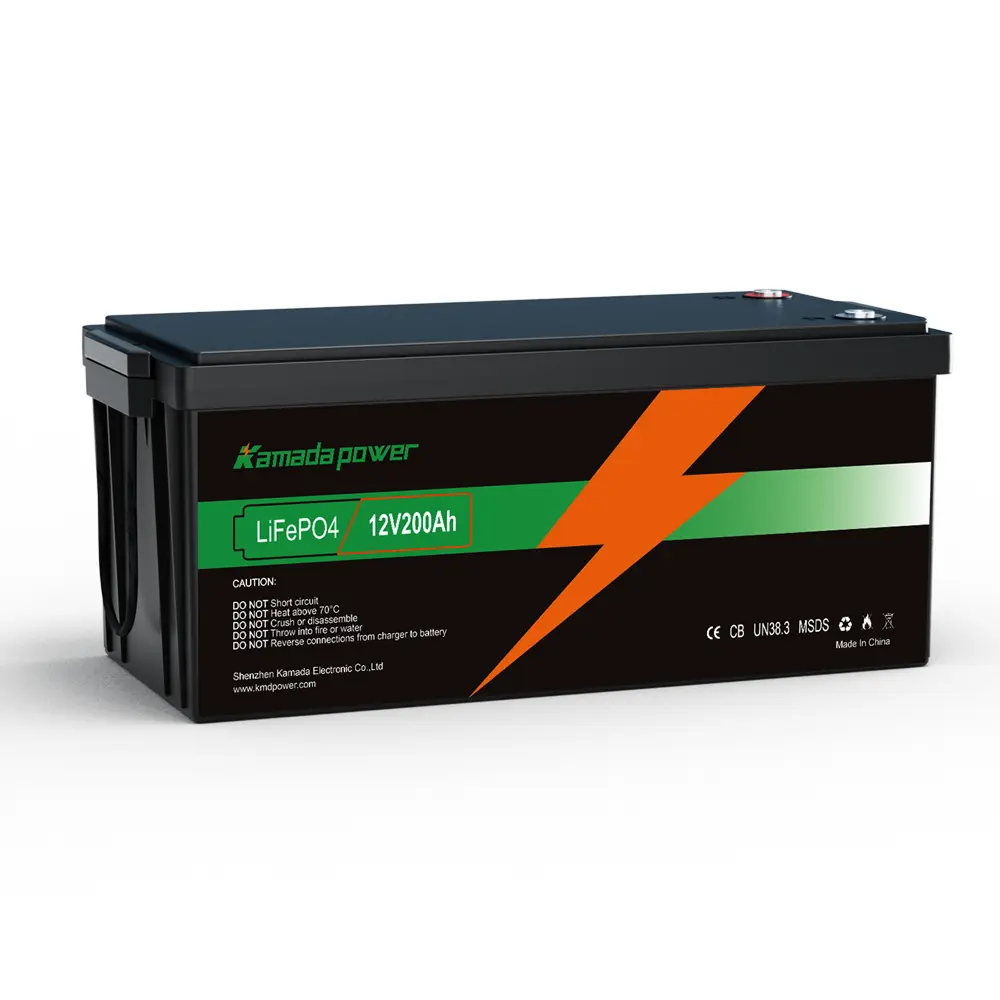
12v 200ah lifepo4 marine battery
Why Checking Your Marine Battery Charge is Crucial
Out there, you don’t get to guess about your power. You have to know.
Prevent Unexpected Power Failures
A dead battery at sea is the start of a very bad day. It’s not just the engine. It’s the bilge pumps. It’s your navigation. It’s your ability to call for help. A five-minute check before you leave the dock is the cheapest insurance you can buy.
Extend Battery Lifespan
Here’s the deal. If you want to kill a lead-acid battery fast, just let it sit half-charged. Sulfation will do the rest. If you want to brick a multi-thousand-dollar lithium battery, let it sit dead all winter. Checking your charge and topping it up isn’t just good practice; it’s how you avoid throwing money overboard.
Ensure Safety on Board
This is the bottom line. Your power runs your safety gear. It has to work when you need it. No debate.
Types of Marine Batteries and Their Charge Characteristics
You have to know what’s in your boat. It’s one of two things.
Lead-Acid Batteries (Flooded & AGM)
The old guard. Heavy, cheap, and we all know them. The flooded ones need you to babysit them, constantly checking water levels. The AGM (Absorbed Glass Mat) is better—sealed, so no spills. That’s a huge plus on a boat. But here’s the truth about both: drain them too deep too many times, and they’re done. Their voltage drops like a rock under load, and getting 400-800 cycles is a best-case scenario.
Lithium-Ion Batteries
This is the standard now, period. LiFePO4 (Lithium Iron Phosphate). This lifepo4 marine battery isn’t consumer tech; it’s industrial-grade. They weigh a fraction of lead-acid, which your fuel bill will notice. They give you thousands of deep cycles. And maintenance? There is none. The brain of the operation, the BMS, protects the cells from you and the elements. It’s a complete game-changer.
Quick Reference Table: Battery Type vs Voltage (at rest)
| State of Charge | 12V Lead-Acid/AGM | 12V LiFePO4 |
|---|
| 100% | 12.7V+ | 13.4V+ |
| 75% | 12.4V | 13.2V |
| 50% | 12.2V | 13.1V |
| 25% | 12.0V | 12.9V |
| 0% | 11.8V | 12.0V |
Note: These are reference numbers. The spec sheet that came with your battery is the law.
You don’t need a full toolbox. Just these.
- Digital Multimeter: The most important electrical tool on your boat. Get a good one.
- Hydrometer: Only for flooded lead-acid. If you have them, you need this.
- Safety Gear: Gloves. Goggles. Don’t be the guy who learns this lesson the hard way.
Step-by-Step Guide to Checking Marine Battery Charge
To get a real number, you have to measure resting voltage. This is the only way.
Step 1: Visual Inspection
Eyes on the prize. First thing, every time. Look for swollen cases—that’s a lead-acid battery screaming for mercy. Check for cracked plastic. Hunt for any of that green or white corrosion cancer on the terminals. And your connections need to be clean and tight. I mean wrench-tight, not just hand-tight.
Step 2: Turn Off All Electrical Loads
Shut it all down. Main breakers off. No lights, no pumps, no anything. And then you have to wait. Let the batteries sit for at least 30 minutes; a few hours is better. You have to let that surface charge burn off. If you skip this step, your multimeter reading is worthless. Absolutely worthless.
Step 3: Measure Voltage with a Multimeter
Set your meter to DC Voltage. Red on positive, black on negative.
Step 4: Interpret the Voltage Reading
Compare your number to the chart. That’s your State of Charge (SOC). If you see 12.2V on your lead-acid house bank, that’s 50%. That battery needs to get on a charger right now.
Step 5: Use a Hydrometer (Flooded Batteries Only)
For flooded batteries, this is the autopsy. You check the specific gravity in every single cell. You’re looking for two things: high numbers (around 1.265) and consistency. If one cell is way out of line with the others, it’s a dead soldier. The whole battery is compromised.
Step 6: Check with a Smart Battery Monitor (Optional)
Look, for any boat that makes money or goes far from shore, this isn’t optional. It’s a real fuel gauge for your electricity. It tells you exactly what’s going in and what’s coming out. Get one installed. It pays for itself the first time it saves you from a dead battery.
How to Test the Alternator on Your Boat
A brand new battery is useless if your alternator isn’t pulling its weight. Get the engine running and bring the RPMs up. Don’t just let it idle. Put your meter probes right on the battery posts. You need to see 13.8 to 14.6 volts. If you see less, you’re not really charging. If you see more, you’re boiling your batteries to death.
Signs Your Marine Battery Needs Charging or Replacement
- The engine sounds tired when it cranks.
- The lights flicker when the freshwater pump kicks on.
- Your GPS reboots itself for no reason.
- It takes a full charge at the dock but is mysteriously weak by morning.
Tips for Maintaining Optimal Battery Health
Lead-acid: Keep them watered, keep them charged. Lithium: Don’t store them dead for six months. The BMS handles the rest.
Common Mistakes to Avoid
The number one killer of house banks is using the wrong type of battery. A starting battery is built for one job: a massive, short burst of power. A deep-cycle battery is built to provide steady power over a long time. Using a starting battery as a house battery will murder it. Every time.
Conclusion
Checking your marine batteries isn’t a chore you get around to. It’s a discipline. It’s what separates the pros from the people waiting for a tow. It’s about reliability, safety, and your own peace of mind. And in today’s world, upgrading to a solid LiFePO4 system isn’t just about convenience—it’s about removing an entire class of problems from your boat for good.
If you want to see what a real lithium system looks like for your boat, contact us our kamada power marine battery technical team. We build these systems day in and day out. We’ll give you the straight scoop.
FAQ
How often should I check the voltage on my boat’s batteries?
If the boat gets regular use, check it weekly. Before a long trip, you don’t leave the dock without checking. If the boat is sitting, check it monthly. Don’t let a dead battery surprise you.
Can I test my boat’s alternator without taking it off the engine?
Yes. That’s the only way to test it that matters—on the boat, with the engine running, under real-world conditions. The reading at the battery tells you the truth.
What are the signs of a bad marine alternator?
Constantly weak batteries are the big one. Flickering lights. Weird electronic glitches. Or a high-pitched whine from the engine. That’s your alternator telling you it’s in trouble.
What if my battery voltage looks good at the dock, but it dies really fast offshore?
That’s the classic symptom of a battery with no capacity left. Its State of Health (SOH) is zero. It can hold a “surface charge” that fools a multimeter for a little while, but there’s nothing behind it. It’s like a rotten bucket that looks fine until you try to carry water in it. The battery is junk. Replace it.