Alright, the slow season’s over. Production targets are climbing, and that fleet of forklifts, aerial work platforms, or commercial marine vessels needs to be ready to work—now. There’s a critical step between standby and full operation, and that’s waking up the batteries. Get this wrong, and you’re not just looking at a dead battery. You’re facing project delays, surprise replacement costs, and real safety hazards out on the floor.
Look, a battery that’s been sitting for months isn’t just sleeping. Its internal chemistry has been quietly at work, and not always in a good way. You can’t just hook it up and hope for the best.
So, I’m going to walk you through the exact field-tested process we use with our industrial clients. This isn’t just about getting a machine to start; it’s about making sure it’s reliable, getting the full cycle life you paid for, and protecting your capital investment.
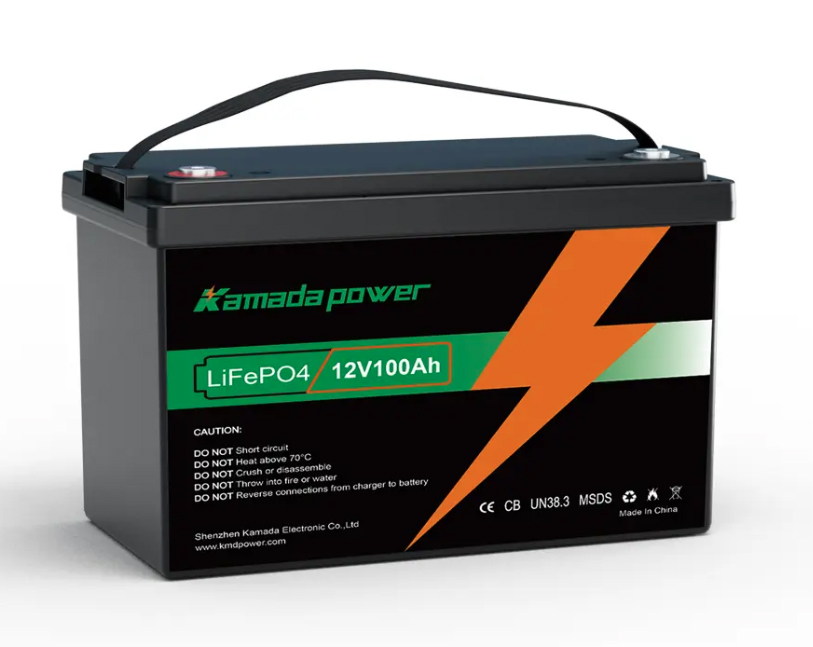
12v 100ah lifepo4 battery
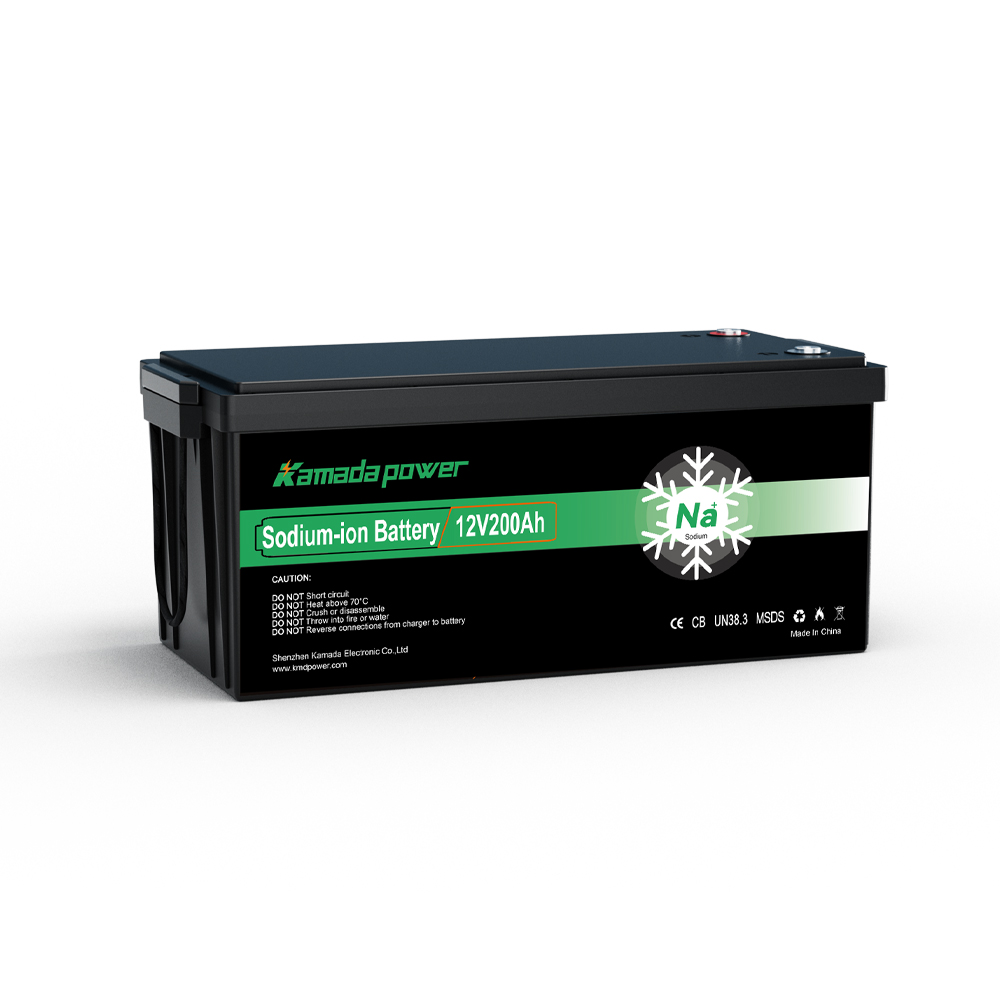
12v 200ah sodium ion battery
Reviving Your Battery Step-by-Step
Step 1: Safety First – Your Most Important Step
Let’s get one thing straight right away: industrial batteries demand your full respect. A single 48V forklift battery pack has enough energy to cause serious harm. Before you even touch a terminal, you need to set up a safe workspace. This isn’t just a suggestion; it’s a non-negotiable part of a safe operation and an OSHA requirement.
Your Safety Kit (Minimum PPE):
- Get some ANSI-rated safety goggles. A full face shield is even better.
- You’ll need acid-resistant gloves. Neoprene or PVC work well.
- You need good ventilation. Open the bay doors, get a fan going. You have to dissipate the hydrogen gas lead-acid batteries can kick out during charging.
- Keep ignition sources—sparks, flames, welding—far away. No exceptions.
Expert Tip: Have a spill kit or at least a big box of baking soda nearby. Trust me, having it within arm’s reach is the fastest way to neutralize any accidental sulfuric acid spills.
Step 2: The Visual Inspection – What to Look For
Before you even think about grabbing a charger, give the battery a good, hard look. This five-minute check can stop you from wasting time on a battery that’s already dead, and it might just prevent equipment damage or a fire.
Inspection Checklist:
- Case: Scan for cracks, serious warping, or the biggest red flag you can see: any bulging or swelling. A swollen battery case, lead-acid or lithium, means it has failed internally. That battery is done. It’s now hazardous waste, so don’t even think about charging it.
- Terminals: Look for that classic white, green, or blue fuzz—that’s corrosion. Also, check for any melted or pitted spots on the lead posts. That’s usually a sign of a poor connection that was arcing under heavy load in the past.
- Leaks: Is there any moisture on the case or in the tray? That’s a problem. On a sealed AGM or lithium pack, it likely means a bad seal. On a flooded battery, you’re looking at a crack or a past overfilling issue.
Step 3: Clean for a Perfect Connection
All that crusty buildup on your terminals? It’s not just ugly; it’s an insulator that literally chokes off the flow of power. Corrosion creates resistance, and that means voltage drop the second you put the machine to work. For equipment like a floor scrubber or scissor lift, that means sluggish performance or the machine just quitting on you.
How-To:
- Disconnect the Negative (–) cable first, always. Then the Positive (+). This simple habit prevents a short-circuit if your wrench touches the frame.
- Use a wire brush or a battery post tool to scrub everything back to shiny metal. A paste of baking soda and water works great to neutralize any acid.
- Wipe it all down and make sure it’s bone dry before you reconnect.
Pro Tip: After you reinstall it, put a thin coat of anti-corrosion gel on the terminals. This one small step makes a huge difference, especially in the damp environments common in marine applications.
Step 4: The Moment of Truth – Test the Voltage
Your digital multimeter is the best diagnostic tool you have here. It gives you a straight, unbiased reading of the battery’s State of Charge (SoC) after sitting for months.
- How to Test: Set your multimeter to DC Volts (20V setting for 12V batteries is fine; adjust for higher voltage systems). Red probe to positive (+), black probe to negative (–). Simple.
- Interpreting the Results:
| Battery Type | 100% Charged | 50% Charged (Needs Charging) | Clinically Dead |
|---|
| 12V Lead-Acid/AGM | 12.6V+ | ~12.2V | <12.0V |
| 12V Lithium (LiFePO4) | 13.4V+ | ~13.1V | <12.5V |
- Expert Analysis: If you’re seeing a voltage reading below 12.0V on a lead-acid battery, that’s a real problem. It’s a strong sign of sulfation—hard crystals forming on the plates. This kills capacity. Frankly, it’s often a point of no return. For a lithium battery, a very low voltage might just mean its internal Battery Management System (BMS) went into a low-power protection mode.
Step 5: For Flooded Lead-Acid Batteries Only – Check Electrolyte Levels
If your fleet runs on traditional flooded batteries, you absolutely cannot skip this step. Low electrolyte levels expose the lead plates to air, causing permanent damage that will kill a cell for good.
- Procedure: Carefully pop or unscrew the cell caps. Look inside. The liquid should be just covering the internal plates. If it’s low, top it off with distilled water only. Never add acid, and don’t use tap water. The minerals in tap water will contaminate the chemistry and shorten the battery’s life.
Step 6: The Right Way to Charge – One Size Does NOT Fit All
Using the wrong charger is one of the fastest ways to kill an expensive industrial battery. They are built around specific chemistries and need a matching charging protocol.
- The Bottom Line: Use a high-quality, multi-stage industrial smart charger. These things actually analyze the battery and tailor the charge, which is vital for recovery and long-term health.
- Crucial Differences by Battery Type:
- Lead-Acid (Flooded, AGM, Gel): Make sure your charger has specific settings for these. An AGM battery, for example, needs a different absorption voltage than a standard flooded one. The wrong profile will cause overcharging and gassing.
- Lithium (LiFePO4): Now, this part is critical. You must use a charger with a designated Lithium (LiFePO4) algorithm. A standard lead-acid charger just won’t work right. Its charging curve can’t communicate with the BMS, so it will fail to balance the cells and could even damage the pack.
Step 7: Final Test, Installation, and Go!
Just because the charger says it’s done doesn’t mean you’re finished. You have a couple of final checks.
- Disconnect the charger. Let the battery sit for an hour. This lets the surface charge dissipate so you can get a true reading.
- Do one last voltage check. A healthy battery will hold a stable voltage. If it drops significantly, it probably won’t hold up under load.
- Reinstall it, connecting the Positive (+) cable first, then the Negative (–). Torque all connections to spec. A loose connection is your main culprit for a whole host of electrical gremlins.
FAQ
Can I use a heavy-duty booster pack to “shock” a dead industrial battery back to life?
That’s a hard ‘no’ from me. Here’s why: a booster pack just delivers a high-current jolt to crank an engine. It’s not designed for the careful process of reviving a deeply discharged battery. You’ll bypass all the smart analytical stages of a proper charger and risk damaging the internal plates or frying the BMS on a lithium pack. It’s a brute-force approach that usually causes more harm than good.
What if we have a mixed fleet of lead-acid and LiFePO4 batteries?
Yeah, that’s a common headache we see with fleets in transition. You just can’t use the same chargers unless they are advanced multi-chemistry units where you physically select the right profile. In our experience, the only surefire way to prevent costly mistakes is to set up dedicated, clearly labeled charging stations for each chemistry.
What’s the best practice for storing batteries next off-season?
For lead-acid, the textbook answer is to fully charge them and hook them up to a quality multi-stage battery maintainer. For LiFePO4, charge them to about 50-80% of their capacity and store them disconnected in a dry place. Now, this is where emerging tech like sodium-ion battery packs is getting interesting. Their big advantages are fantastic extreme temperature performance and, more importantly, they tolerate being stored at 0% state of charge without damage. For a procurement officer, that means simpler logistics and no need for a trickle charging setup, which could lower your total cost of ownership.
Conclusion
Bringing your industrial batteries back online after the off-season doesn’t have to be a shot in the dark. It all comes down to a methodical process: Safety, Inspect, Clean, Test, and Charge Correctly. Following these steps means you’re ensuring operational readiness, not just hoping for the best.
At the end of the day, the health of your batteries reflects the health of your operation. Taking an hour to do this right can save you days of downtime and thousands in replacement costs later.
Need to develop a robust battery maintenance and storage plan for your entire fleet? Contact us. We can help you build a strategy that maximizes the life of your current assets and evaluates the right technology for your future needs.